Creating vibrant and impactful innovation ecosystems.
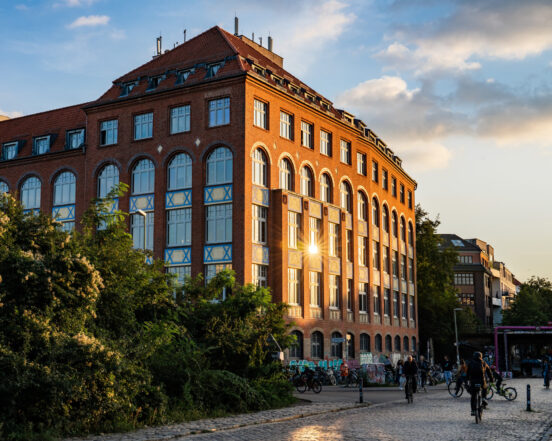
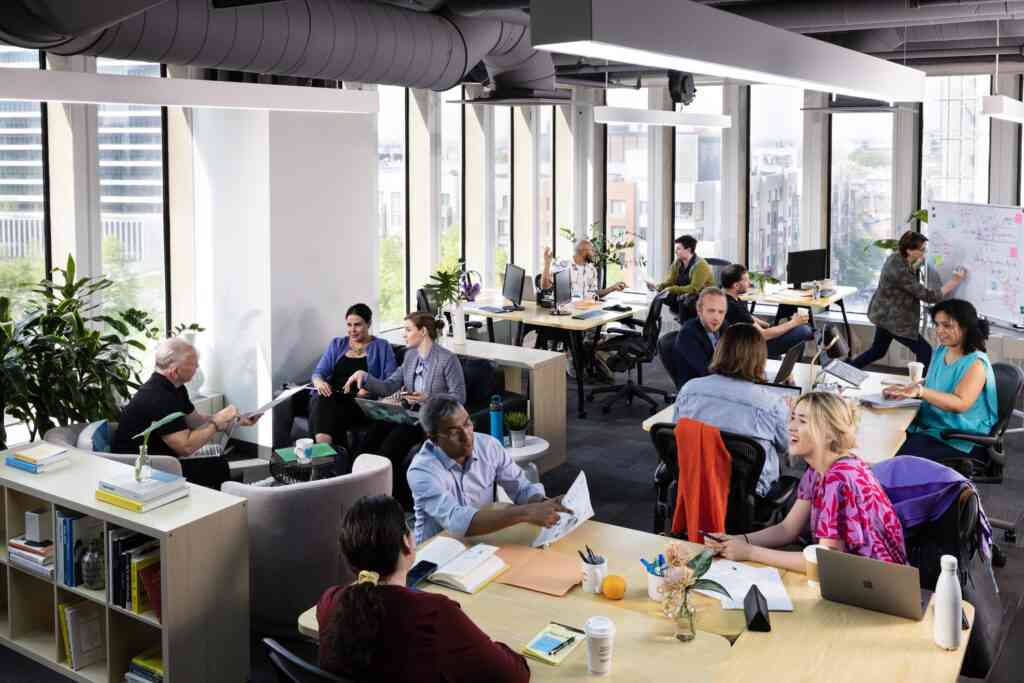
Workspaces
All-Inclusive offices and labs that adjust to your needs
Choose from a variety of move-in ready space options, like private offices, coworking space, or fully-equipped labs with everything you need to get to work.
All office spaces have flexible, 30-day membership terms.
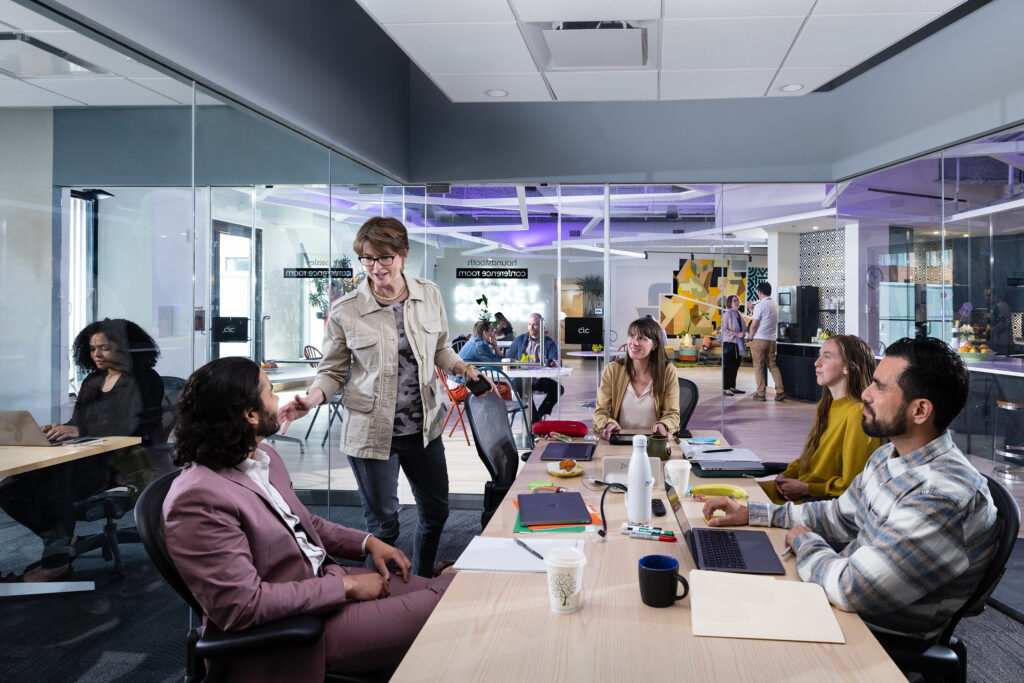
Networking
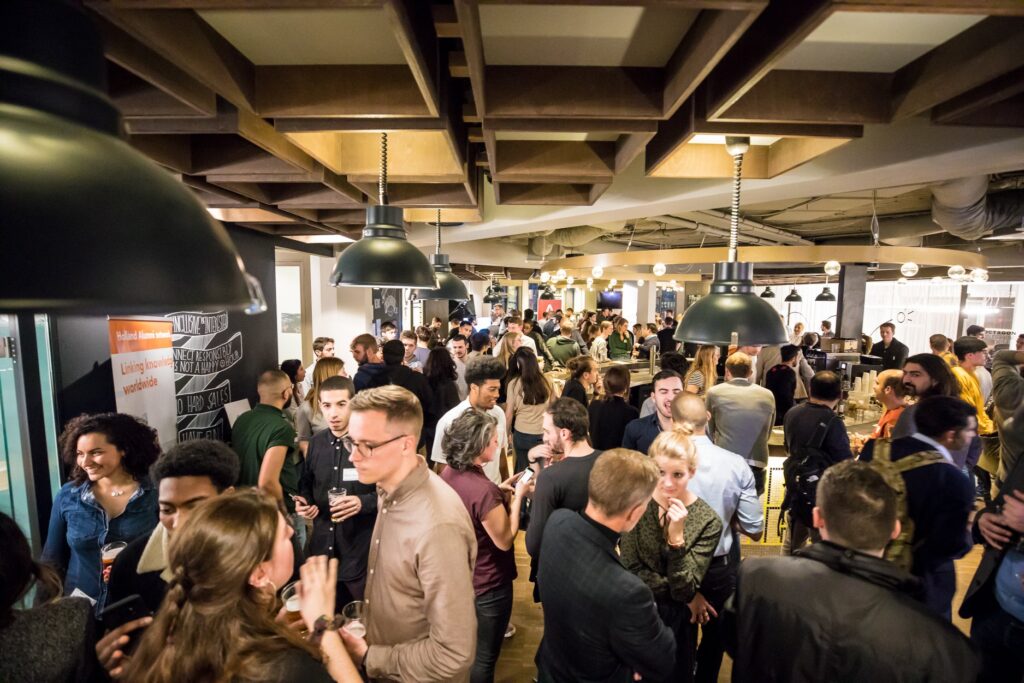
Exciting events and programs to help you grow and connect
Network and learn with others in your industry, and outside of it, too!
Meet high-caliber innovators, spark new ideas, and build a stronger community through a variety of programs and events engineered for growth.
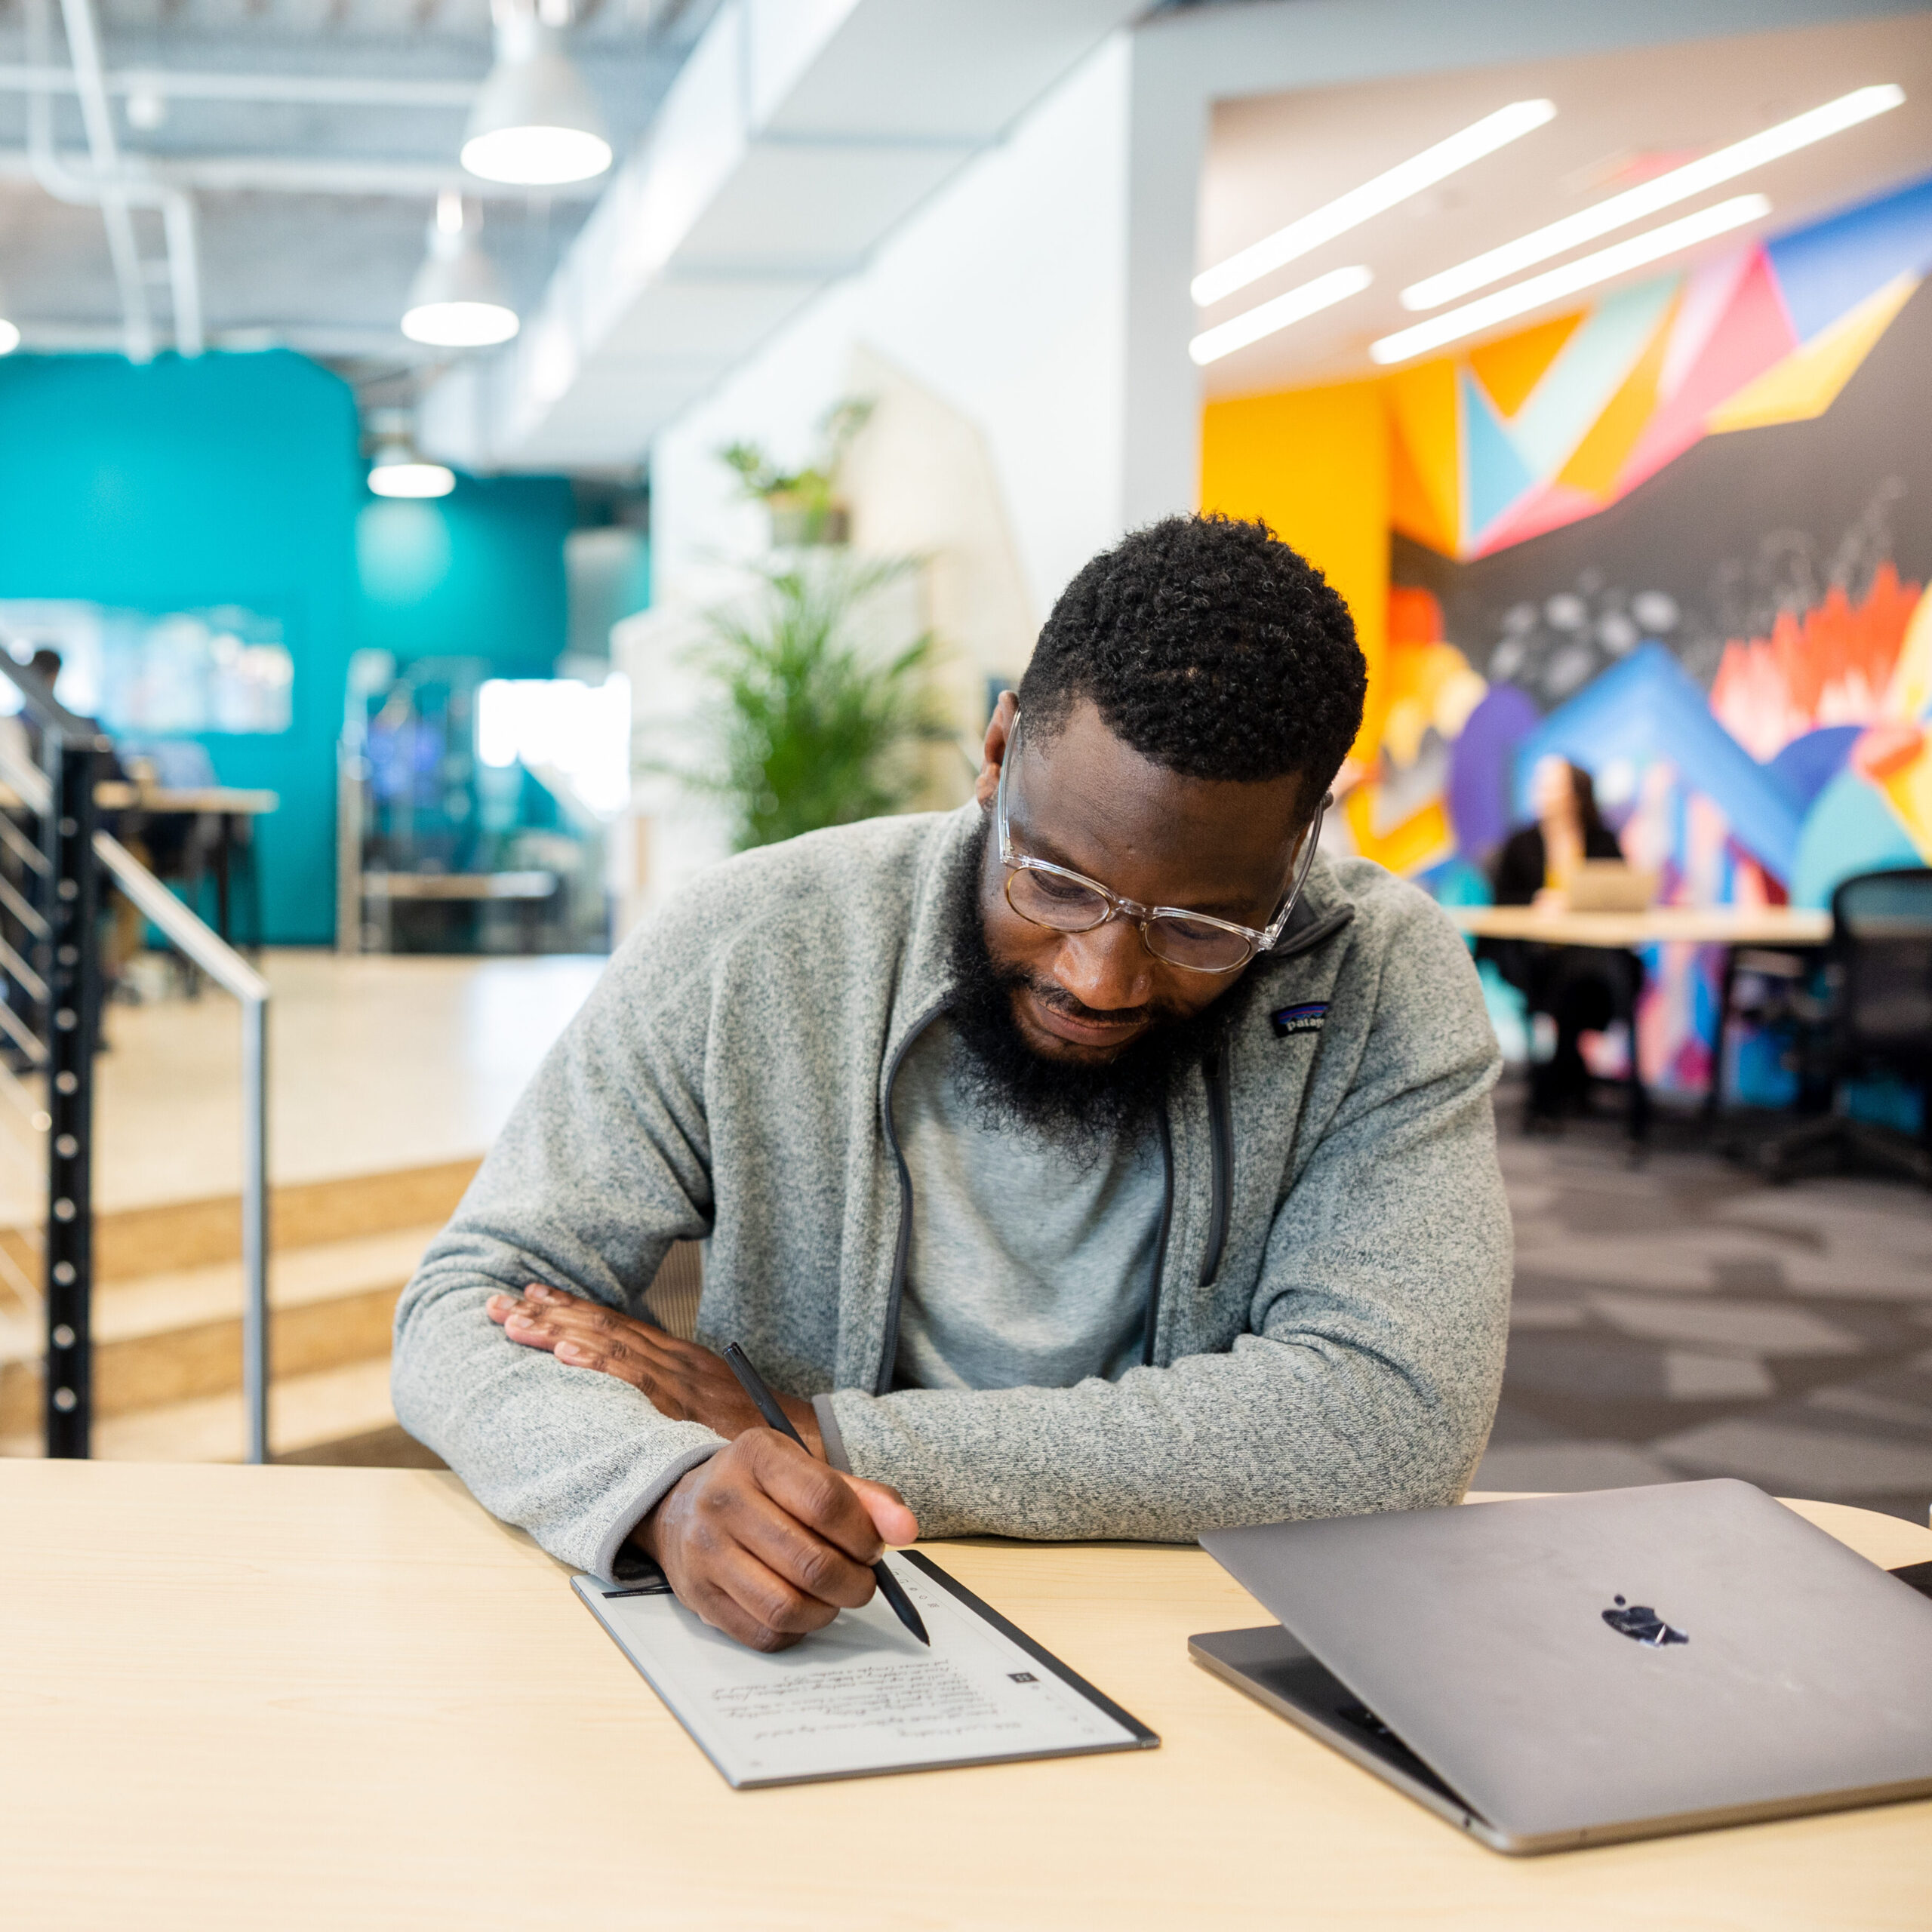
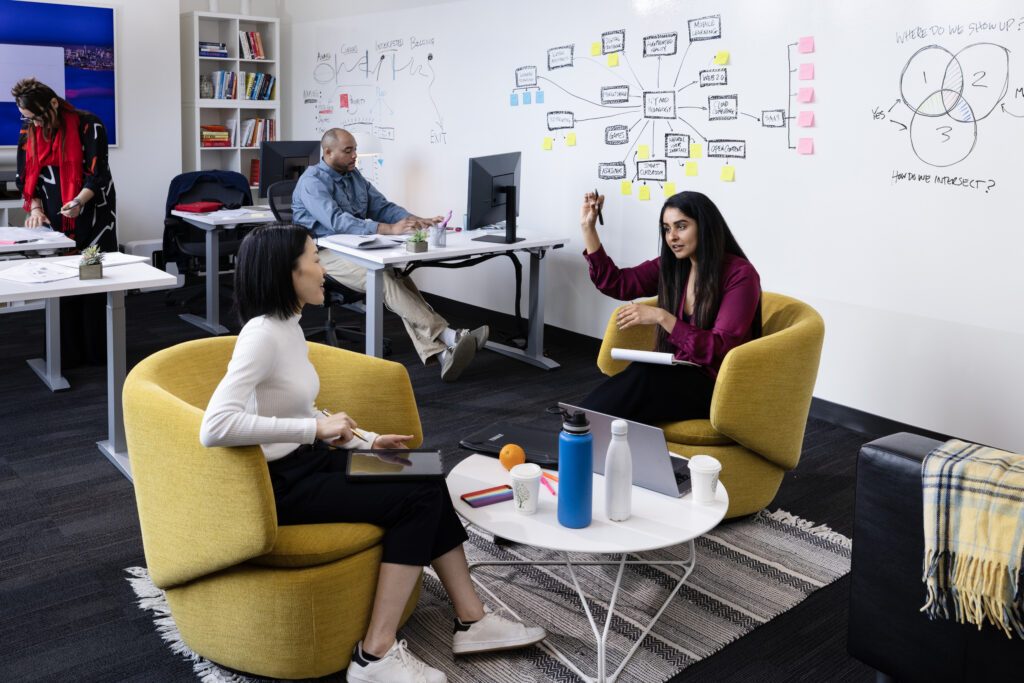
Expertise
Innovation consulting for corporations and governments
Tackle complex challenges and find opportunities for strategic growth through bespoke consulting.
Our experts support businesses and public entities, build and enable industry clusters, and provide world-class district consulting— all focused on advancing innovation.
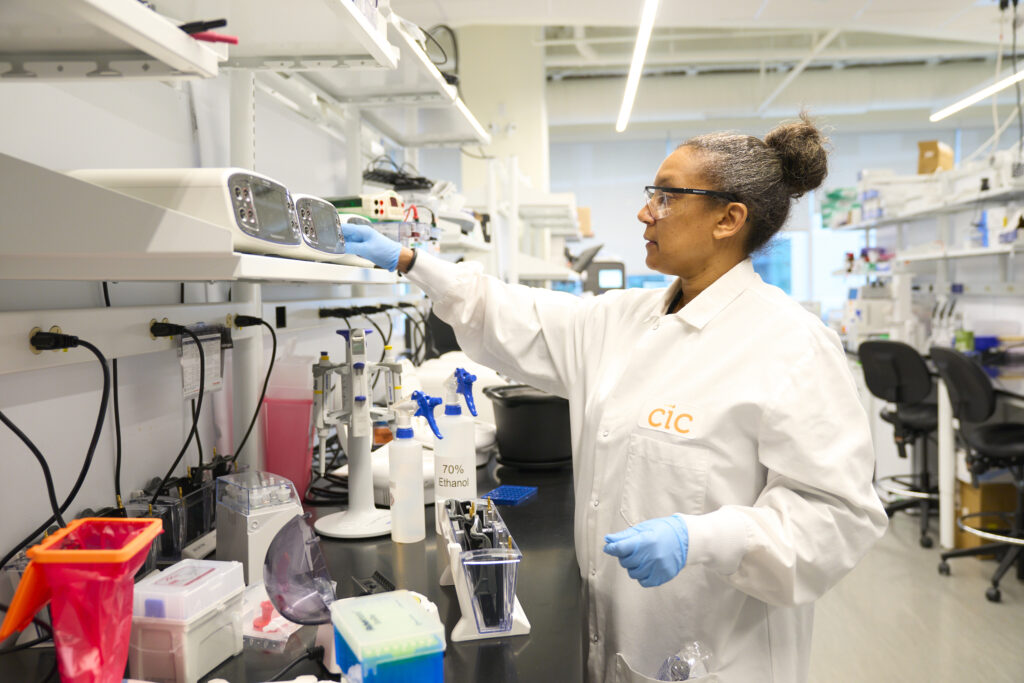
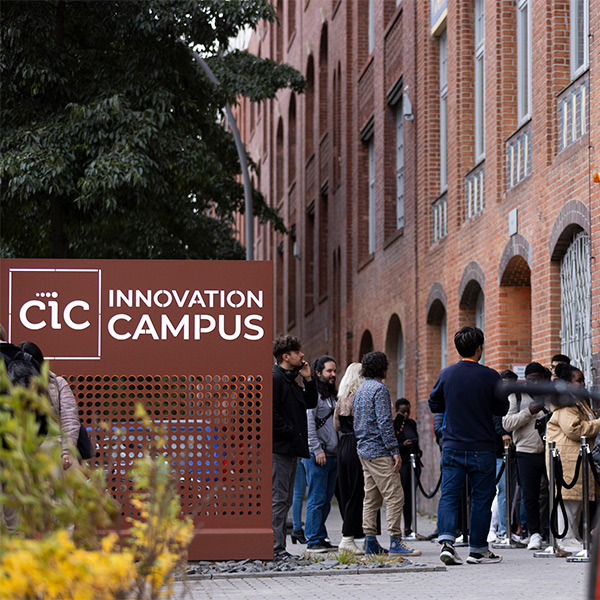
who are we?
By innovators for innovators.
Creating a culture purposefully-designed for innovating isn’t just a passion; it’s an obsession. Since 1999, CIC has grown from a single location in Kendall Square to over 1.5M square feet of workspace, labs, and event space across the globe.
0 +
Client organizations
0 +
Events globally per year
$ 0 B
Capital raised by CIC clients
See for yourself why so many organizations thrive and grow at CIC.


PERSPECTIVES